Managing instance arrays
This is often the very first step in using the Metal Cloud. Make sure you have created an account with us by signing up here
Deploying an instance array using the Infrastructure Editor
The MetalCloud servers (called Instances) are groupped in InstanceArrays. By default an infrastructure is created for you called “my-infrastructure” in a datacenter geographically close to you.
Click on the
Create your first InstanceArray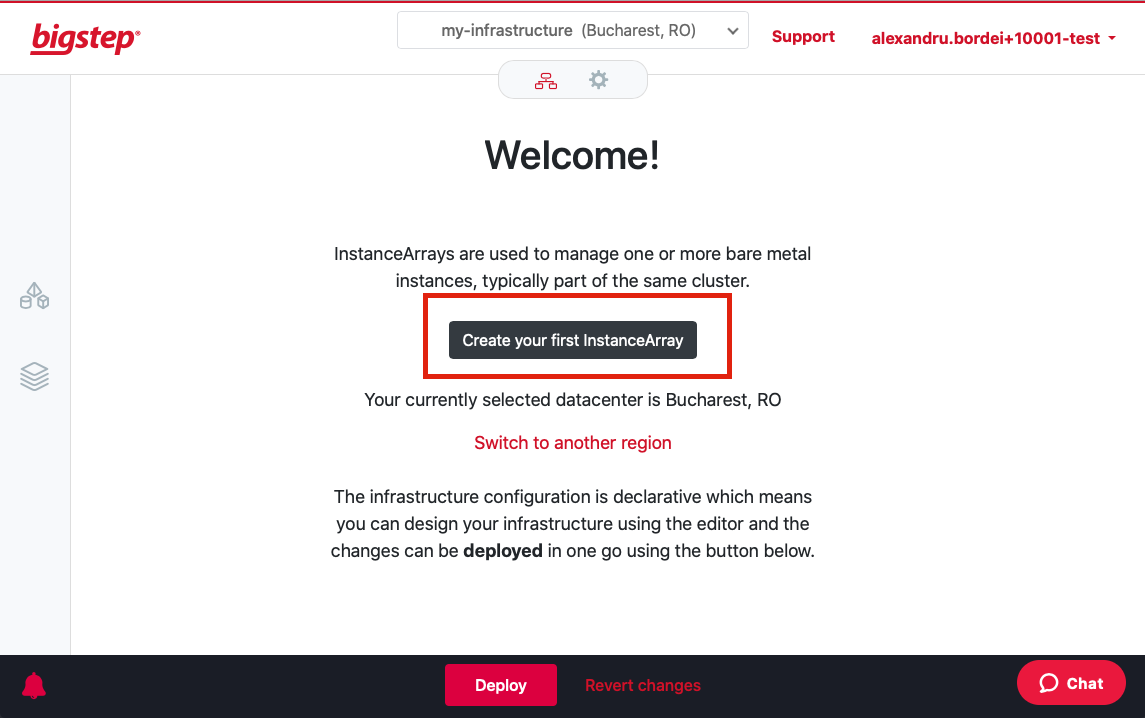
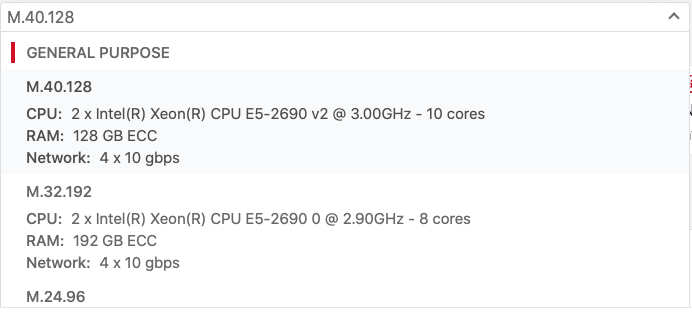
Select your configuration, number of servers, operating system, drive size and boot type.
Certain servers types support deploying the operating system on a local drive (or a collection of local drives in an RAID 1,5,10 array). Local drives do not allow switching the server but are less expensive and carry higher capacities and, if using local NVMes higher performance.
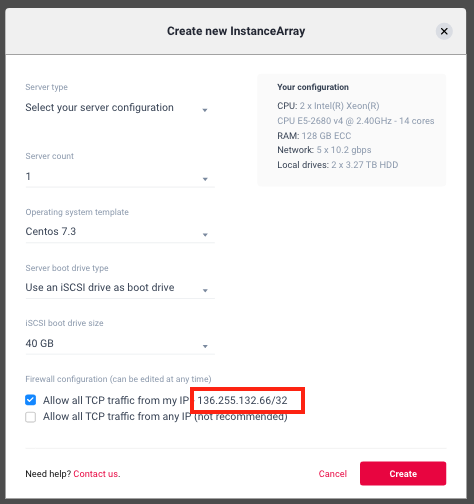
Alter firewall rules
By default all traffic is blocked except if it originates from what our systems detects as being your IP. You need to explicitly enable additional IPs or ports before you deploy.
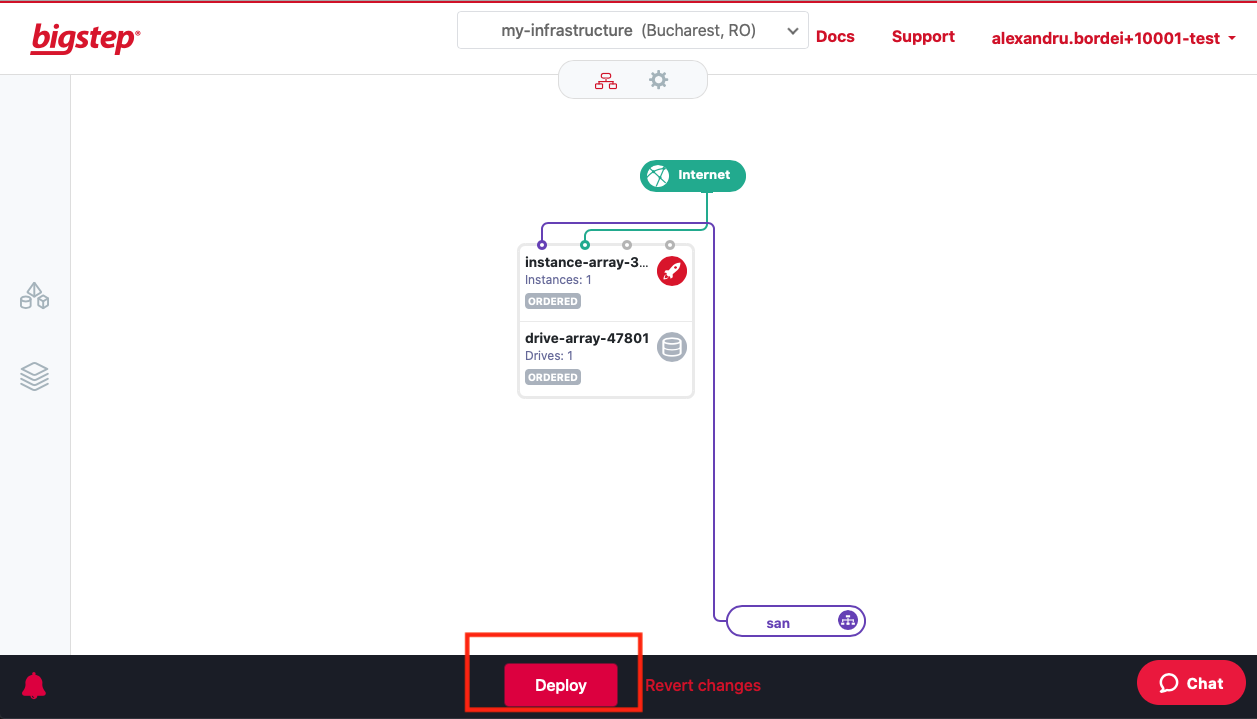
Deploy the infrastructure
Operations in the MetalCloud are not immediatelly deployed. In fact they can be reverted until the infrastructure is “Deployed”. Click on the big “Deploy” button from the bottom of the screen.
Retrieving server access credentials using the UI
Once an infrastructure is active you can access the server’s credentials by clicking on the instance array.
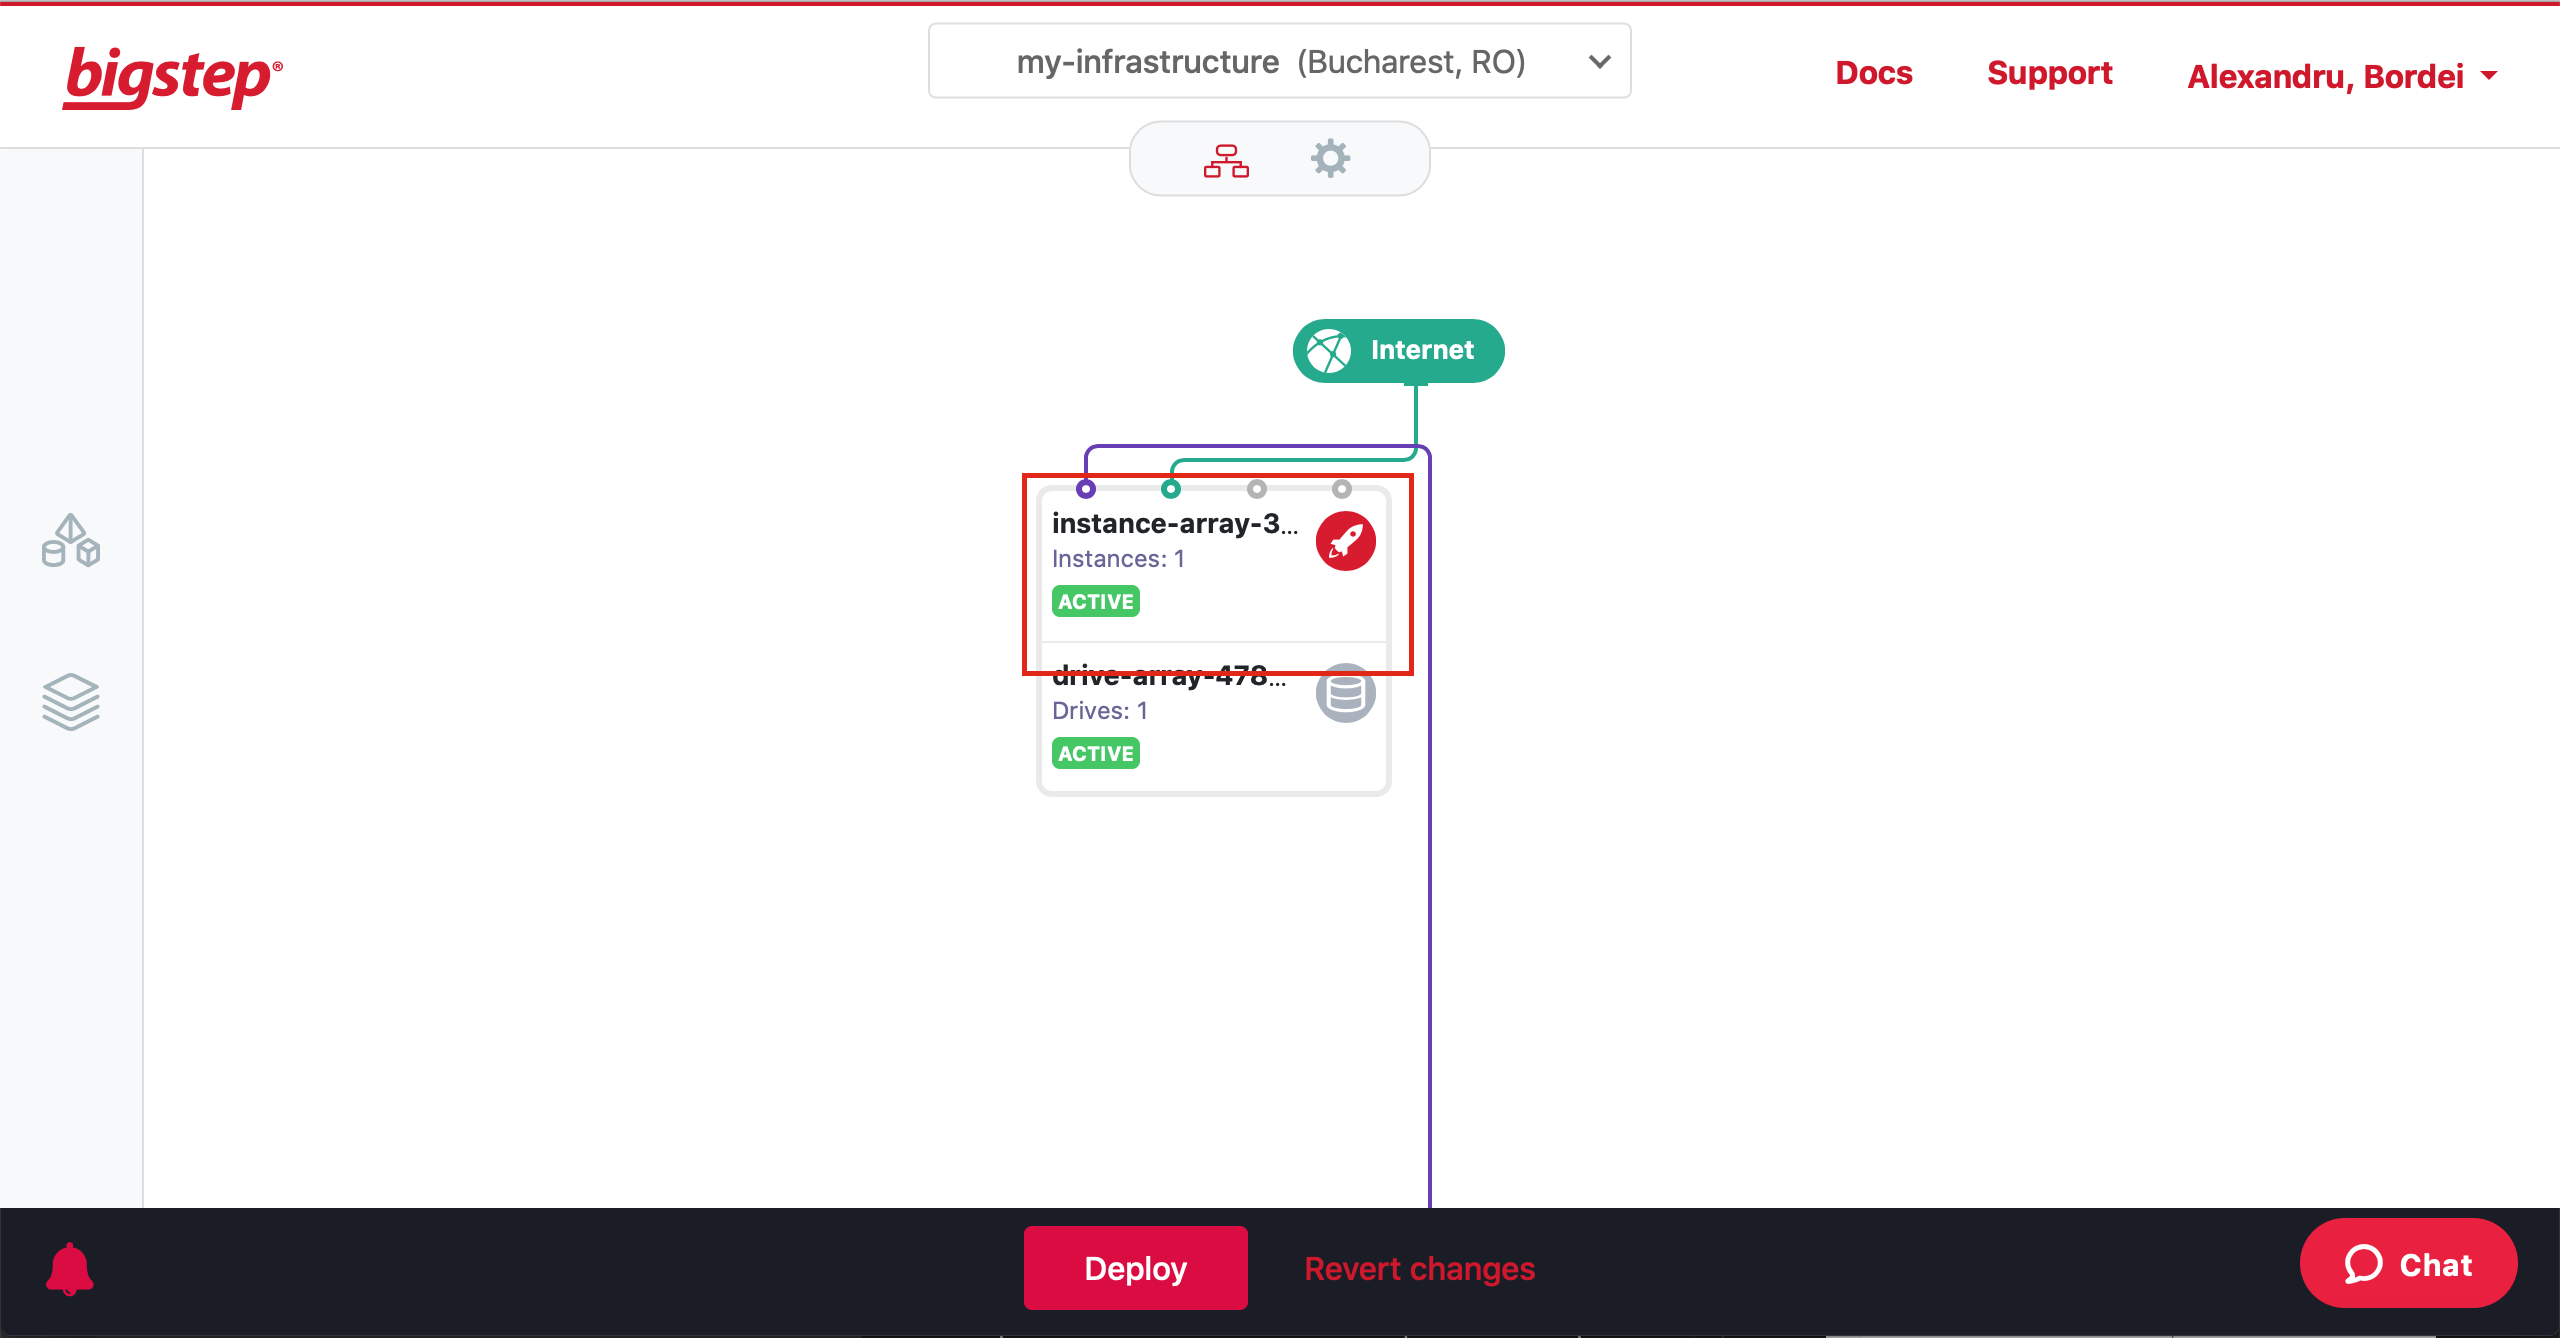
This will pop-up the access credentials window:
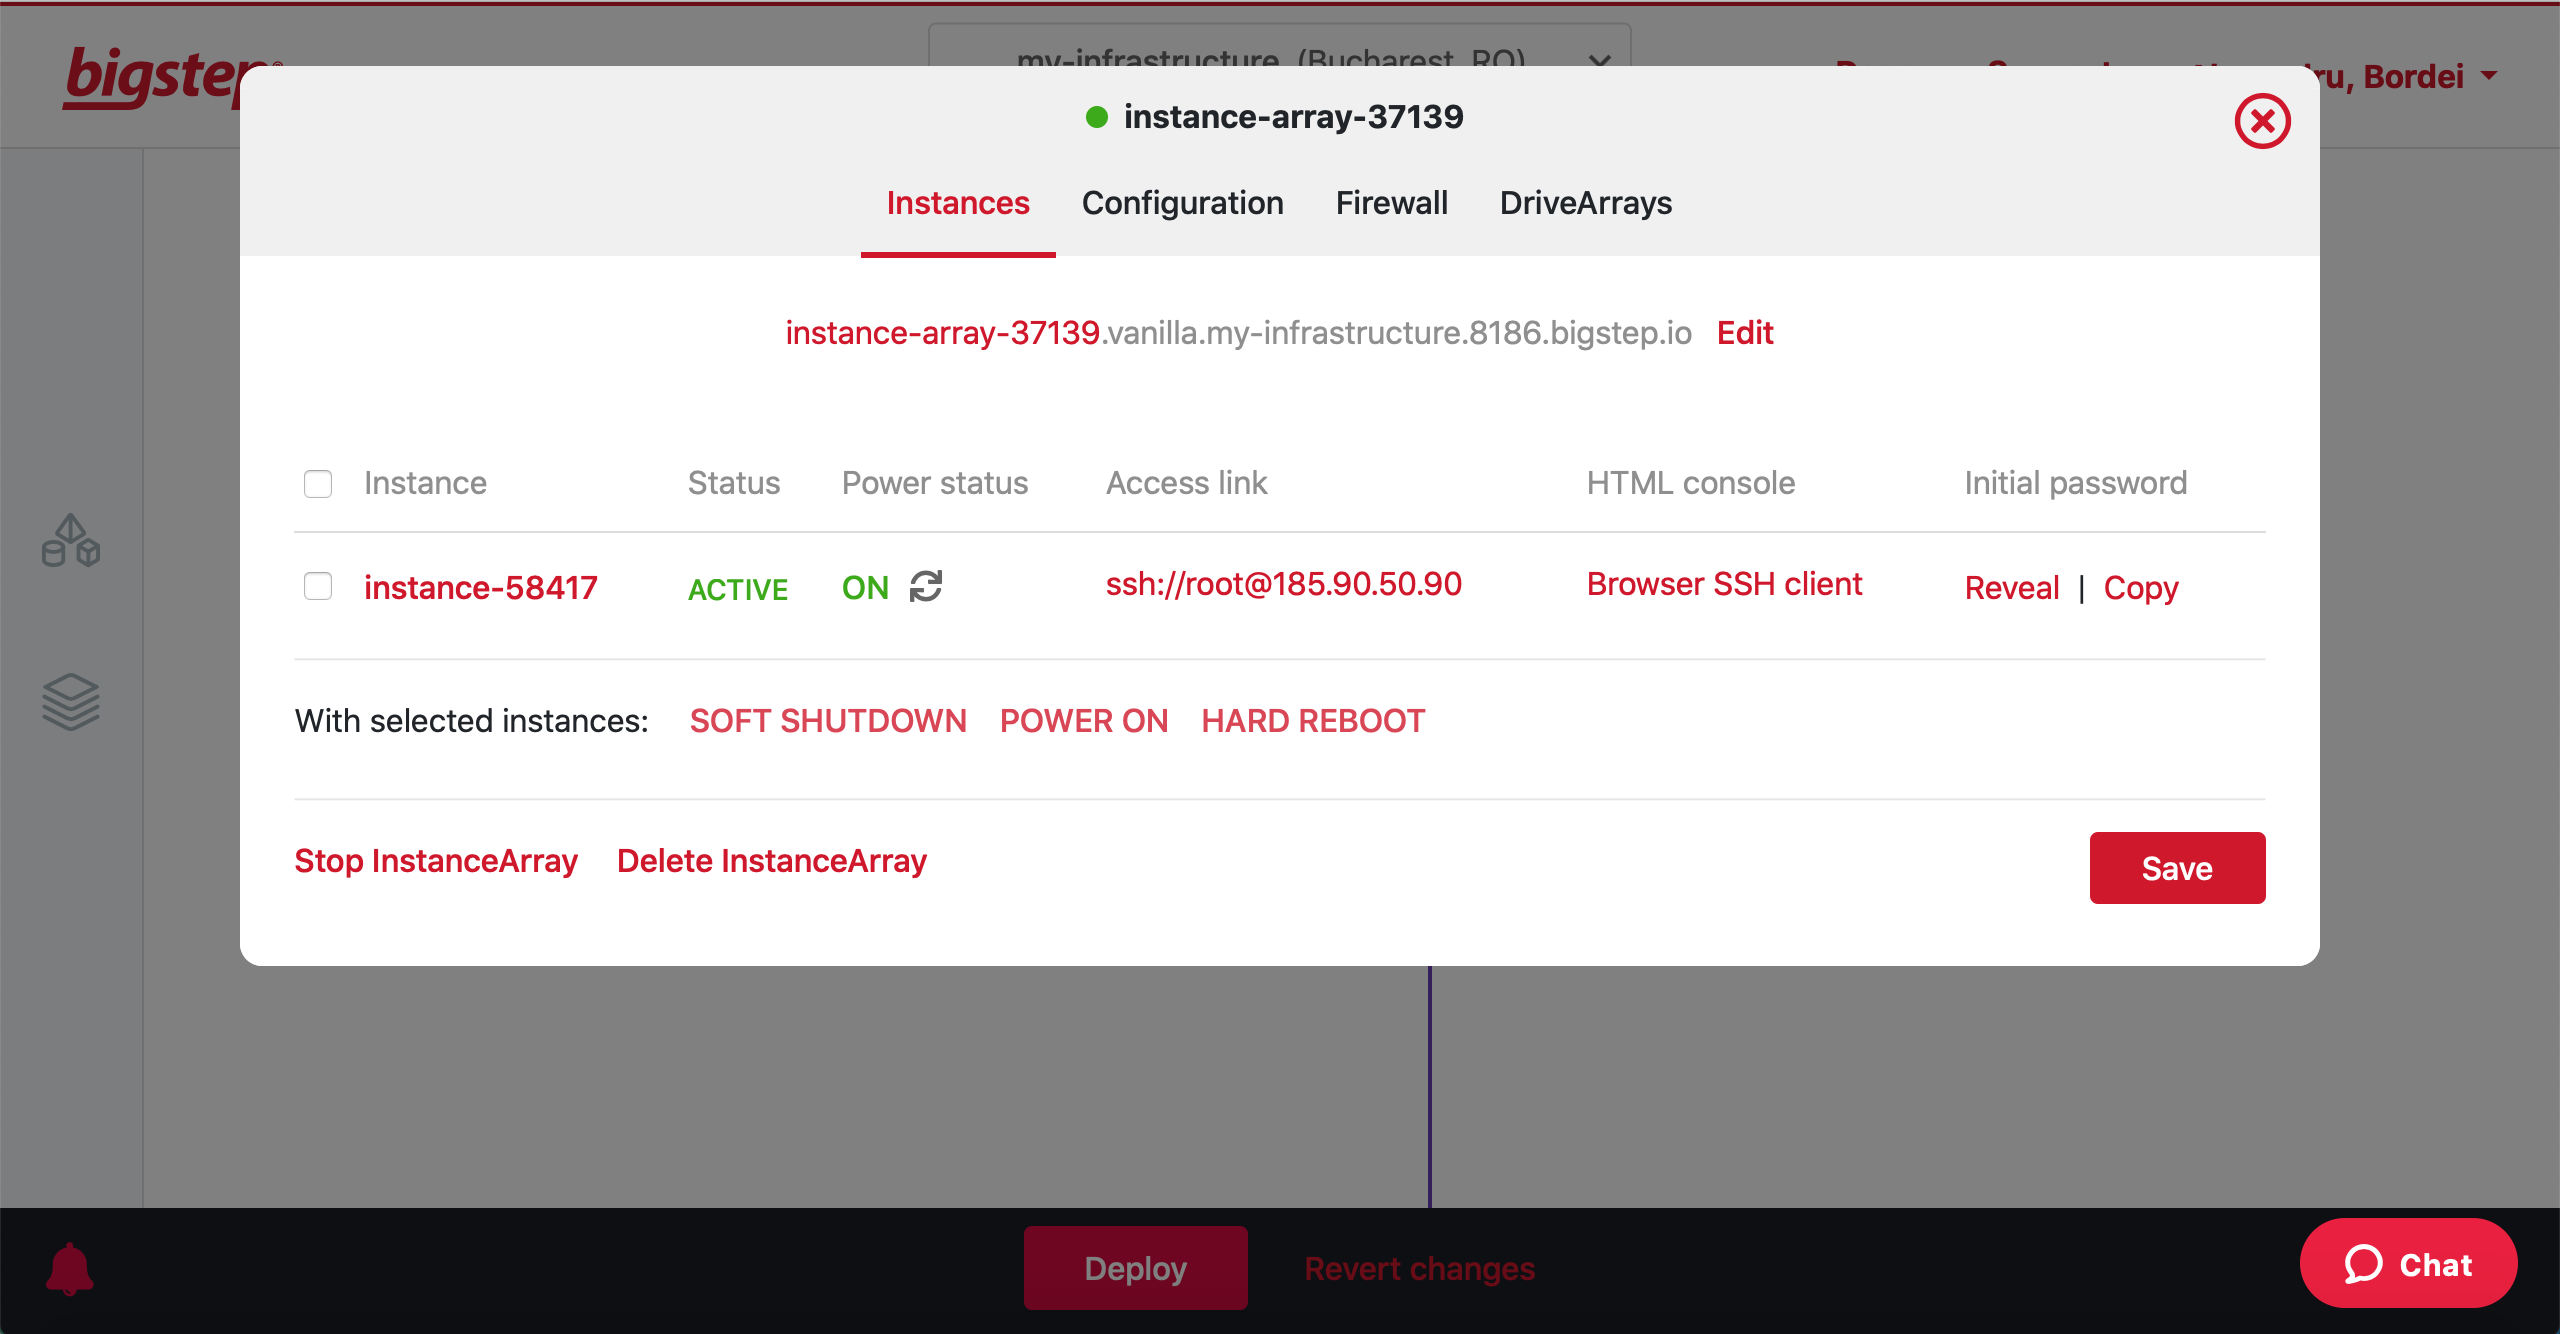
Here you can find, for each instance (server):
- the quick ssh access link
- root password
Clicking on an instance opens up further information:
The host can be any one of the:
- Hosts’ public ip address (89..)
- Hosts’s permanent DNS entry:
instance-58417.bigstep.io - Host’s long-form DNS entry:
instance-58417.instance-array-37139.vanilla.my-infrastructure.8186.bigstep.io
Both of them are Type A DNS entries and they point to the same IP address.
Note: It is recommended that you register your public SSH key in the Account settings section so that it gets automatically added on the hosts at deploy time.
Deploying an instance array using the CLI
This tutorial uses the CLI. Visit using the CLI for more details.
List available templates
$ metalcloud-cli volume-template list
Volume templates I have access to as user [email protected]:
+-------+-----------------------------------------+----------------------------------+-------+---------------------------+-----------+
| ID    | LABEL                                   | NAME                             | SIZE  | STATUS                    | FLAGS     |
+-------+-----------------------------------------+----------------------------------+-------+---------------------------+-----------+
| 6     | ubuntu-12-04                            | Ubuntu-12.04                     | 40960 | deprecated_deny_provision |           |
| 13    | centos6-5                               | CentOS6.5                        | 40960 | deprecated_allow_expand   |           |
| 14    | centos6-6                               | CentOS6.6                        | 41000 | deprecated_allow_expand   |           |
| 18    | centos71v1                              | CentOS 7.1                       | 40960 | deprecated_allow_expand   |           |
+-------+-----------------------------------------+----------------------------------+-------+---------------------------+-----------+
Total: 4 Volume templates
Provision an Instance
$ metalcloud-cli instance-array create -boot pxe_iscsi -firewall-management-disabled -infra demo -instance-count 1 -label gold
Add a drive array to the instance
Use the ID of the template, for instance 18 for CentOS 7.1
$ metalcloud-cli drive-array create -ia gold -infra demo -size 100000 -label gold-da -template 18
Deploy the infrastructure
$ metalcloud-cli infrastructure deploy -id demo
Retrieving server access credentials using the CLI
To retrive your ssh credentials use the following command:
$ metalcloud-cli instance-array get -id gold -show-credentials
Checking the power status of all the instances in this instance array using the CLI
To retrieve your instances status use:
metalcloud-cli instance-array get -id gold -show-power-status
Rebooting an instance using the CLI
To perform power operations on a particular instance use:
metalcloud-cli instance power-control -id 1023 -operation reset
Possible operations are:
- on - power on
- off -power off (hard)
- reset - Reboot (hard)
- soft - Soft shutdown (ACPI via the operating system)